
Achieving a professional, long-lasting finish is all about the groundwork. Whether you’re a DIY enthusiast or a seasoned pro, following these essential steps will ensure your Paint Magic project looks incredible and stands the test of time.
Master the Prep Work
The secret to a flawless finish is a clean, stable surface. Before opening your tin:
1
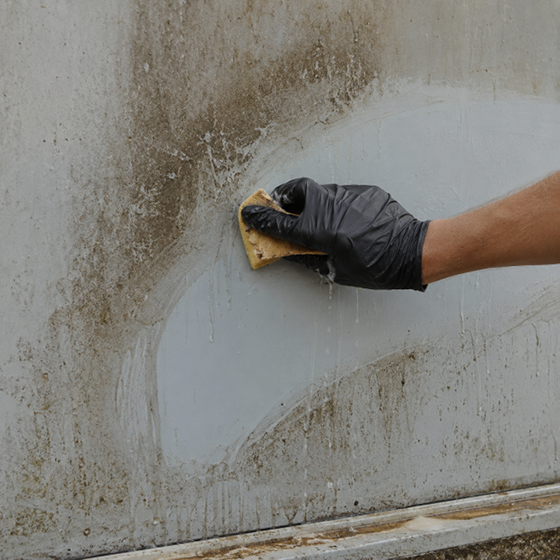
Clear the Grime
Ensure all surfaces are completely free from dust, dirt, oil, and grease. A simple wipe-down can prevent peeling later.

2
Smooth Things Over
If you are painting over old finishes, remove any loose or peeling paint. Give the area a light sand with abrasive paper to create a “key”—this helps our paint “grab” the surface for better adhesion.
3
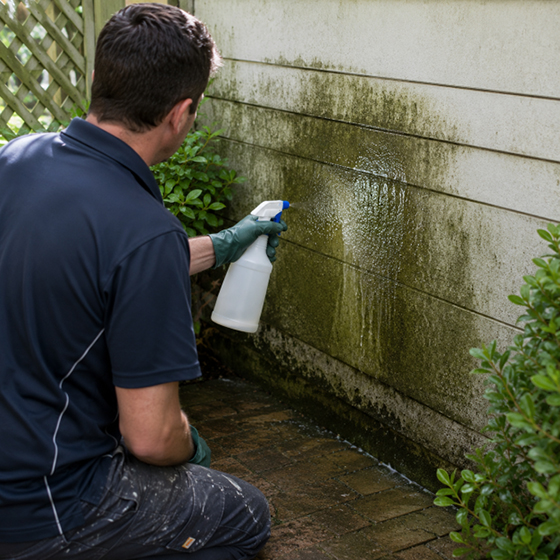
Biological Cleanup
If you spot mould, moss, or algae, don’t just paint over it. Treat the area with a quality fungicidal wash and ensure it is fully dry before proceeding.

4
Specialty Surfaces
- Timber: New or planed wood should be lightly sanded. For pressure-treated timber, we recommend letting it “weather” for at least 6 months before painting.
- Galvanised Steel: For exterior metal, allow it to weather for 2 months. For interior use, degrease the metal with warm, soapy water followed by a quick wipe with methylated spirits. Avoid using white spirit or turps.
- Rust: Use a wire brush to remove any visible rust before sanding or applying a dedicated metal primer.


